
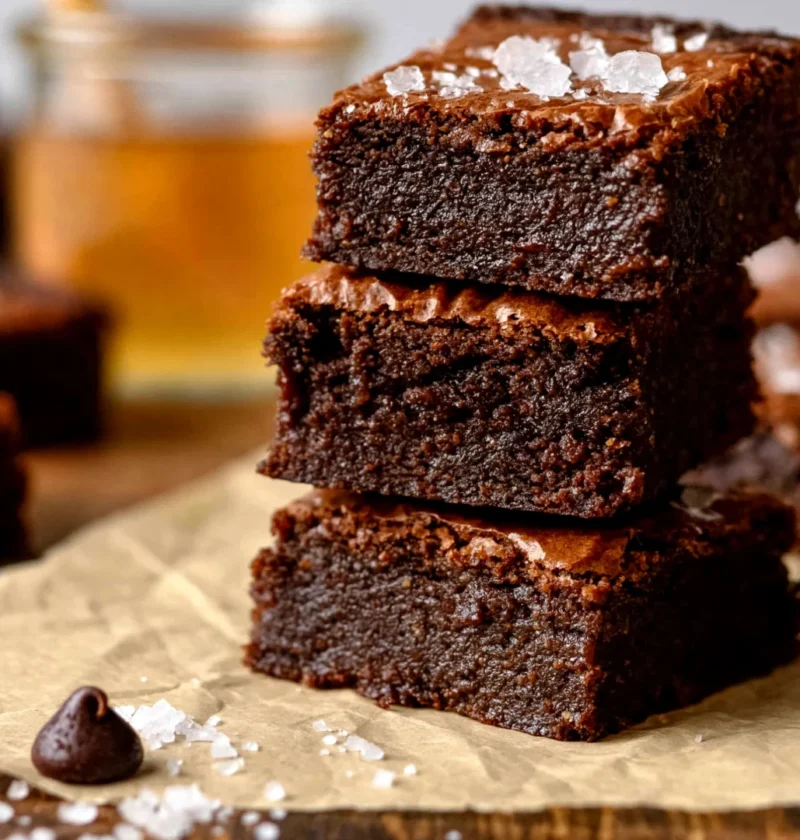
When it comes to baking, few treats can rival the luxurious texture and depth of flavor found in Brown Butter Brownies. These decadent brownies are a delightful twist on the classic chocolate brownie, utilizing brown butter to enhance the chocolate flavor profile. The transformation of regular butter into brown butter elevates the dish, infusing it with nutty undertones that perfectly complement the rich chocolate. This process not only adds complexity but also a savory edge that rounds out the sweetness. Perfect for any occasion, these brownies are guaranteed to impress chocolate lovers and dessert enthusiasts alike, from family gatherings to special celebrations. The aroma that fills your kitchen while making these brownies is an inviting prelude to the indulgent treat that awaits.
Ingredients
- Dry Ingredients:
- 1 cup all-purpose flour
- 1/2 cup unsweetened cocoa powder
- 1/4 teaspoon salt
- 1/2 teaspoon baking powder
- Wet Ingredients:
- 1/2 cup unsalted butter (to be browned)
- 1 cup granulated sugar
- 2 large eggs
- 1 teaspoon vanilla extract
- Toppings: (optional)
- 1/2 cup chocolate chips, preferably semi-sweet for balanced sweetness
- 1/4 cup chopped nuts (walnuts or pecans), toasted for extra flavor
Steps / Instructions
- Preheat the Oven: Preheat your oven to 350°F (175°C). Line an 8-inch square baking pan with parchment paper, leaving a slight overhang for easy removal. This will help in lifting the brownies out cleanly once they are cooled.
- Brown the Butter: In a medium saucepan, melt the butter over medium heat. Continue cooking, stirring frequently, until the butter turns golden brown and develops a nutty aroma, about 5-7 minutes. Be careful not to burn it, as burnt butter will impart a bitter taste. Once browned, remove from heat and let it cool slightly; this step is crucial for achieving the best flavor in your Brown Butter Brownies.
- Mix Dry Ingredients: In a mixing bowl, whisk together the flour, cocoa powder, salt, and baking powder until well combined. This ensures that the leavening agent is evenly distributed, which is key for uniform baking.
- Combine Wet Ingredients: In a separate large bowl, whisk the browned butter and sugar until smooth. The mixture should be glossy. Add the eggs one at a time, mixing well after each addition to ensure a homogenous blend. Stir in the vanilla extract, which adds a lovely aromatic quality to the brownies.
- Combine Mixtures: Gradually add the dry ingredients to the wet ingredients, stirring until just combined. Be careful not to overmix, as this can lead to tougher brownies. If desired, fold in chocolate chips and nuts at this stage for added texture and flavor—this will create delightful pockets of melted chocolate and a satisfying crunch.
- Bake: Pour the brownie batter into the prepared baking pan, spreading it evenly. Bake for 20-25 minutes, or until a toothpick inserted in the center comes out with a few moist crumbs, indicating that the brownies are fudgy and not overbaked.
- Cool and Serve: Allow the brownies to cool in the pan for about 10 minutes, then use the parchment overhang to lift them out. Transfer to a wire rack to cool completely before cutting into squares. This cooling step is essential to achieve clean cuts and maintain the fudgy texture of your Brown Butter Brownies.
Tips & Tricks
- Storage: Store the brownies in an airtight container at room temperature for up to 5 days, or refrigerate for longer freshness. You can also freeze them for up to three months for an indulgent treat later.
- Make-Ahead: You can prepare the batter a day in advance; just store it in the refrigerator and bake when ready. This allows flavors to meld, enhancing the overall taste.
- Common Mistakes: Avoid overmixing the batter, as it can result in cakey brownies instead of fudgy ones. Additionally, ensure the butter is correctly browned to maximize flavor; under-browned butter won’t yield the same nutty depth.
- Pro Techniques: Use high-quality chocolate and cocoa powder for the best flavor. Consider using a combination of dark and milk chocolate for a rich taste that balances sweetness with a slight bitterness.
Variations
- Flavored Extracts: Experiment with different extracts, like almond or hazelnut, to create unique brownie flavors that can surprise your palate and delight your guests.
- Dietary Alternatives: For gluten-free brownies, substitute all-purpose flour with a gluten-free flour blend. Make sure to check that all other ingredients, like baking powder and chocolate, are also gluten-free.
- Unique Twists: Add a swirl of peanut butter or cream cheese for unique brownie flavors that will surprise your guests and add a creamy texture contrast.
Serving Suggestions
- Serve warm with a scoop of vanilla ice cream for a classic combination that enhances the chocolate flavor.
- Drizzle with caramel sauce or top with whipped cream for an indulgent touch that elevates the dessert experience.
- Pair with a fresh fruit salad to balance the richness of the brownies, introducing a refreshing contrast that cuts through the fudgy sweetness.
FAQ
- Can I use salted butter? Yes, but reduce the added salt in the recipe to balance the flavors, ensuring the brownies maintain their intended sweetness.
- How do I know when the brownies are done? A toothpick inserted into the center should come out with a few moist crumbs but not wet batter, indicating that they are perfectly baked.
- Can I freeze these brownies? Yes, brownies freeze well. Wrap them individually in plastic wrap and store in an airtight container for up to three months, allowing you to enjoy them later.
With their rich chocolatey goodness and the unique flavor of brown butter, these Brown Butter Brownies are a must-try for any dessert lover. Whether for a special occasion or just a cozy night in, your taste buds will thank you! You can learn more about this topic.
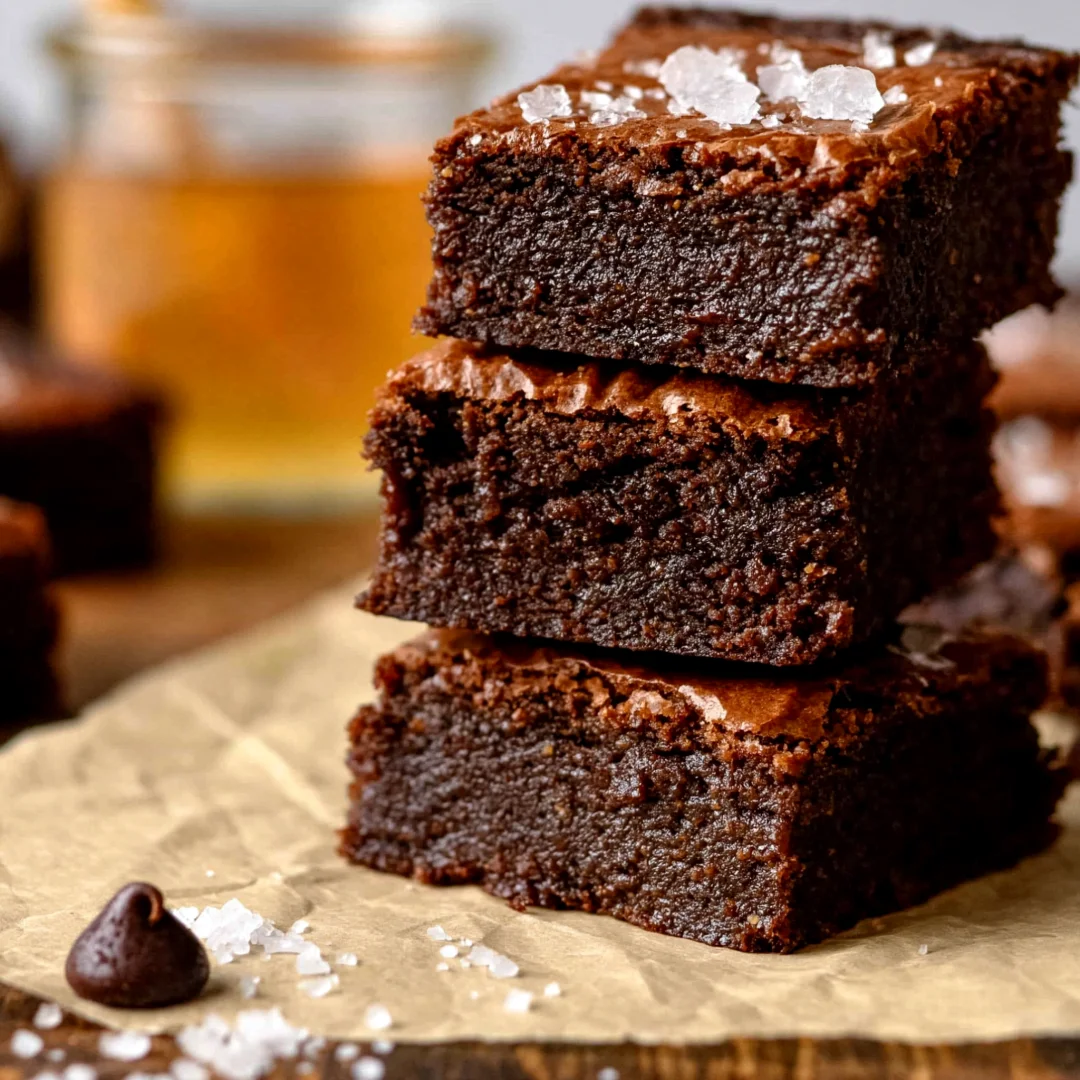
Brown Butter Brownies
These decadent brownies are a delightful twist on the classic chocolate brownie, utilizing brown butter to enhance the chocolate flavor profile. The transformation of regular butter into brown butter elevates the dish, infusing it with nutty undertones that perfectly complement the rich chocolate.
Ingredients
- 1 cup all-purpose flour
- 1/2 cup unsweetened cocoa powder
- 1/4 teaspoon salt
- 1/2 teaspoon baking powder
- 1/2 cup unsalted butter (to be browned)
- 1 cup granulated sugar
- 2 large eggs
- 1 teaspoon vanilla extract
- 1/2 cup chocolate chips (optional)
- 1/4 cup chopped nuts (walnuts or pecans, optional)
Directions
Preheat your oven to 350°F (175°C). Line an 8-inch square baking pan with parchment paper.
In a medium saucepan, melt the butter over medium heat. Continue cooking, stirring frequently, until the butter turns golden brown and develops a nutty aroma, about 5-7 minutes. Remove from heat and let it cool slightly.
In a mixing bowl, whisk together the flour, cocoa powder, salt, and baking powder until well combined.
In a separate large bowl, whisk the browned butter and sugar until smooth. Add the eggs one at a time, mixing well after each addition. Stir in the vanilla extract.
Gradually add the dry ingredients to the wet ingredients, stirring until just combined. If desired, fold in chocolate chips and nuts at this stage.
Pour the brownie batter into the prepared baking pan, spreading it evenly. Bake for 20-25 minutes, or until a toothpick inserted in the center comes out with a few moist crumbs.
Allow the brownies to cool in the pan for about 10 minutes, then use the parchment overhang to lift them out. Transfer to a wire rack to cool completely before cutting into squares.
Nutrition Facts
Recipe Reviews
- ★★★★★
Excellent recipe!
Leave a Reply
Your email address will not be published. Required fields are marked *







Excellent recipe!