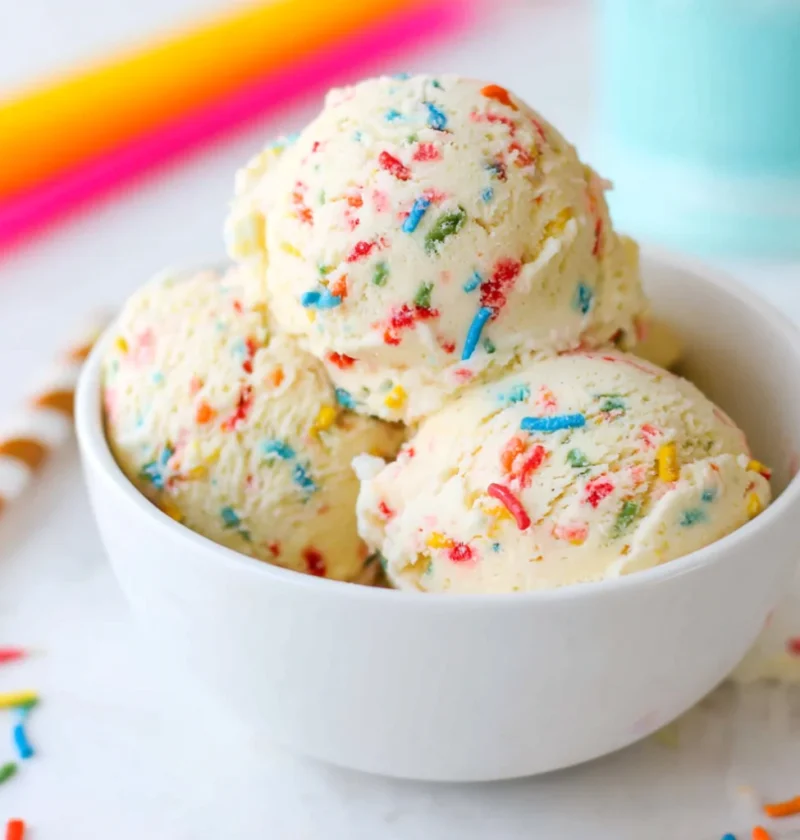
Imagine the joy of celebrating a birthday with a delightful twist: Birthday Cake Ice Cream. This sweet, creamy treat combines the nostalgic flavors of traditional birthday cake into a delicious frozen dessert. Perfect for all ages, Birthday Cake Ice Cream captures the essence of festive celebrations and childhood joy, making it an unforgettable indulgence. With its vibrant sprinkles and cake-like flavor, it’s a fan favorite that brings back memories of blowing out candles and sharing laughter with loved ones. Whether you’re hosting a summer party or simply satisfying a sweet tooth, this homemade ice cream recipe is sure to impress your friends and family. The rich, creamy texture and delightful sweetness make for a perfect dessert that can elevate any occasion. Let’s dive into the delicious world of Birthday Cake Ice Cream!
Ingredients
- For the Ice Cream Base:
- 2 cups heavy cream – opt for a high-fat content for creamier results.
- 1 cup whole milk – full-fat milk ensures the richness of the ice cream.
- 3/4 cup granulated sugar – adjust to taste if you prefer a less sweet treat.
- 1 teaspoon vanilla extract – pure vanilla extract gives the best flavor.
- 1/4 teaspoon salt – enhances the overall sweetness and flavor profile.
- Birthday Cake Ingredients:
- 1 cup vanilla cake mix (dry) – this will provide that classic cake flavor.
- 1/2 cup rainbow sprinkles (funfetti) – the colorful sprinkles add festive flair and fun.
- Toppings:
- Whipped cream – a dollop adds an airy lightness to your dessert.
- Extra sprinkles – sprinkle generously for an extra pop of color and texture.
- Cherry on top (optional) – a classic final touch for that retro dessert feel.
Steps / Instructions
- In a large mixing bowl, whisk together the heavy cream, whole milk, granulated sugar, vanilla extract, and salt until the sugar dissolves completely. Make sure to whisk vigorously to incorporate air, which will contribute to a lighter ice cream.
- Gradually add the dry vanilla cake mix to the mixture, whisking until fully incorporated. This will give your ice cream that wonderful birthday cake flavor. Be careful not to overmix, as this may lead to a grainy texture.
- Fold in the rainbow sprinkles gently, ensuring they are evenly distributed throughout the mixture. Use a spatula to preserve the integrity of the sprinkles, as they add both color and texture.
- If using an ice cream maker, pour the mixture into the machine and churn according to the manufacturer’s instructions (usually about 20-25 minutes) until it reaches a soft-serve consistency. You should see the mixture thicken and increase in volume as it churns.
- If you prefer a no-churn option, pour the mixture into a freezer-safe container. Smooth the top with a spatula, ensuring no air pockets remain to help it freeze evenly.
- Cover the container with a lid or plastic wrap and freeze for at least 4-6 hours, or until firm. For best results, avoid opening the freezer door too often, as this can affect the freezing process.
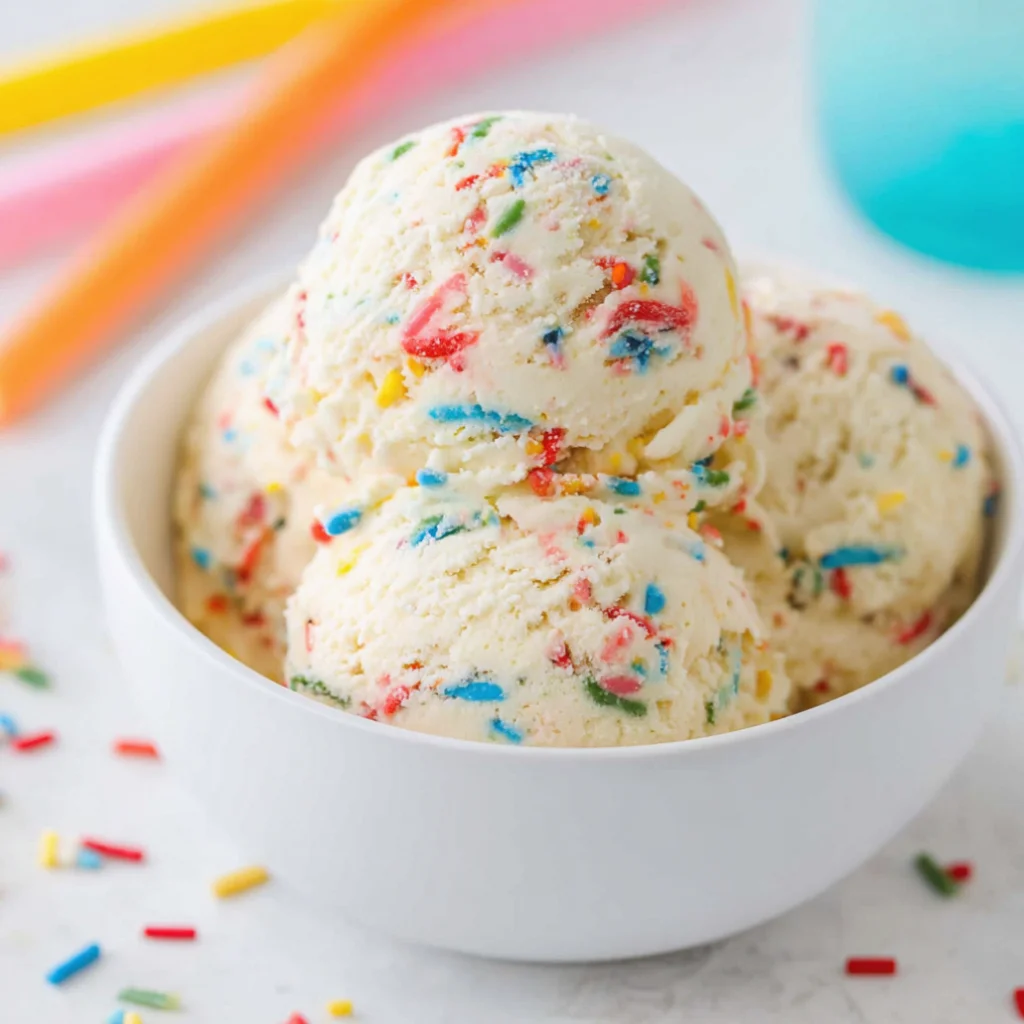
- Once ready, scoop the Birthday Cake Ice Cream into bowls or cones. Top with whipped cream, extra sprinkles, and a cherry, if desired, for that classic ice cream parlor experience.
Tips & Tricks
For the best results, use high-quality heavy cream and whole milk to achieve a rich and creamy texture. If you’d like to enhance the flavor, consider adding a splash of almond extract or a few drops of lemon juice to brighten the taste, making it even more vibrant. When folding in sprinkles, be gentle to avoid breaking them apart, as this preserves their color and fun appearance. This Birthday Cake Ice Cream can be made ahead of time and stored in the freezer for up to 2 weeks, making it a convenient dessert option. To prevent ice crystals from forming, press a piece of parchment paper directly onto the surface of the ice cream before sealing it with a lid. You can learn more about this topic, including variations and serving ideas that can enhance your experience.
Variations
Feel free to customize your Birthday Cake Ice Cream! For a gluten-free version, use a gluten-free vanilla cake mix, ensuring everyone can enjoy this delightful treat. You can also experiment with different flavors, such as chocolate or strawberry cake mix, to create exciting flavor combinations that suit your preferences. Adding swirls of frosting or chunks of your favorite candies can elevate this creamy ice cream dessert even further, providing an extra layer of indulgence. Check out our related guide for more tips and tricks to make your ice cream stand out at any gathering.
Serving Suggestions
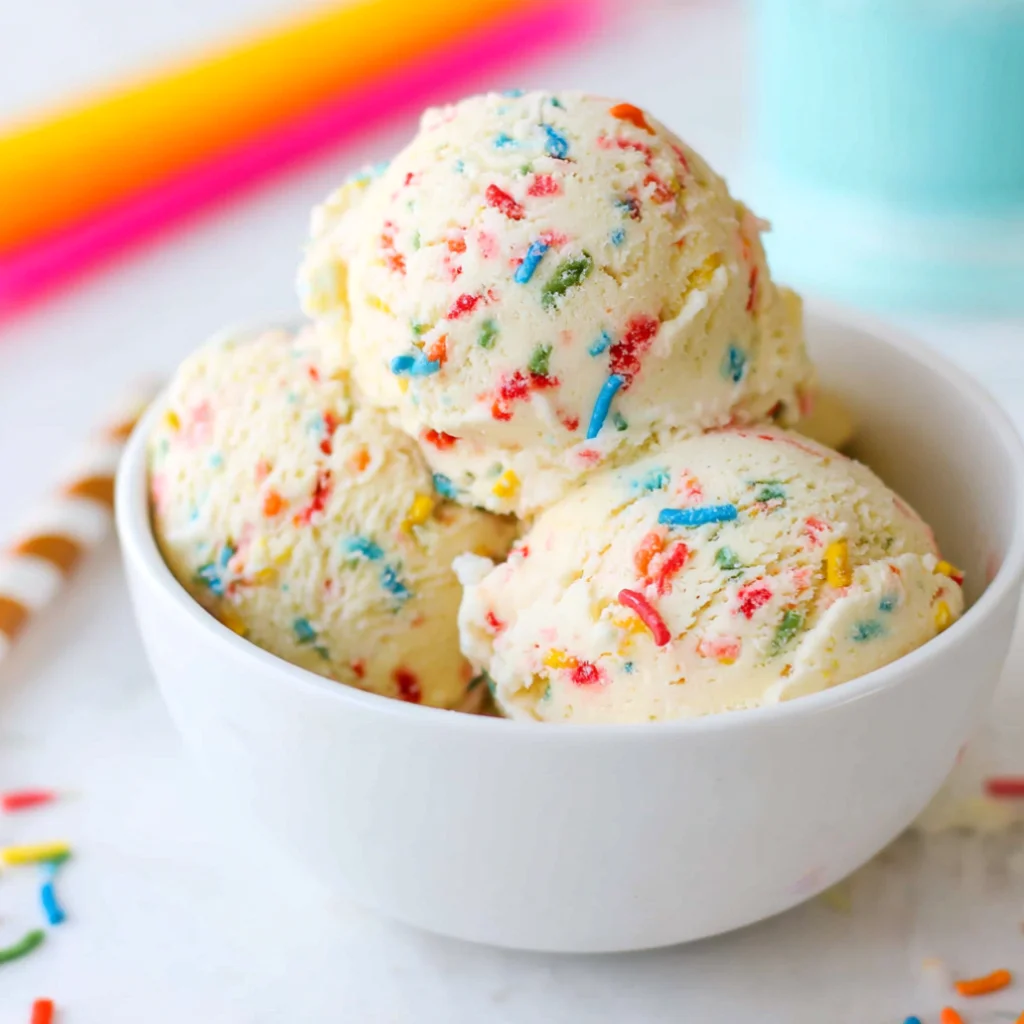
Serve your Birthday Cake Ice Cream in fun, colorful bowls or cones for that festive look that enhances the celebration atmosphere. Pair it with homemade cake pops or bite-sized cookies for a delightful dessert platter that guests will love. A tall glass of milk or a scoop alongside a slice of real birthday cake makes for a perfect match during celebrations or casual gatherings, creating an experience that embodies the joy of birthdays.
Conclusion
Now that you have all the details to make your own Birthday Cake Ice Cream, it’s time to bring a taste of celebration into your kitchen. With its creamy texture, vibrant sprinkles, and nostalgic flavor, this ice cream is a guaranteed hit for any occasion. Don’t forget to share your delightful creations and enjoy every scoop, making memories just as sweet as the dessert itself!
Birthday Cake Ice Cream
Imagine the joy of celebrating a birthday with a delightful twist: Birthday Cake Ice Cream. This sweet, creamy treat combines the nostalgic flavors of traditional birthday cake into a delicious frozen dessert. Perfect for all ages, Birthday Cake Ice Cream captures the essence of festive celebrations and childhood joy, making it an unforgettable indulgence.
Ingredients
- 2 cups heavy cream
- 1 cup whole milk
- 3/4 cup granulated sugar
- 1 teaspoon vanilla extract
- 1/4 teaspoon salt
- 1 cup vanilla cake mix (dry)
- 1/2 cup rainbow sprinkles (funfetti)
- Whipped cream (for topping)
- Extra sprinkles (for topping)
- Cherry on top (optional)
Directions
In a large mixing bowl, whisk together the heavy cream, whole milk, granulated sugar, vanilla extract, and salt until the sugar dissolves completely.
Gradually add the dry vanilla cake mix to the mixture, whisking until fully incorporated.
Fold in the rainbow sprinkles gently, ensuring they are evenly distributed throughout the mixture.
If using an ice cream maker, pour the mixture into the machine and churn according to the manufacturer's instructions (usually about 20-25 minutes).
If you prefer a no-churn option, pour the mixture into a freezer-safe container and smooth the top with a spatula.
Cover the container with a lid or plastic wrap and freeze for at least 4-6 hours, or until firm.
Once ready, scoop the Birthday Cake Ice Cream into bowls or cones. Top with whipped cream, extra sprinkles, and a cherry, if desired.
Recipe Reviews
- ★★★★★
Excellent recipe!
Leave a Reply
Your email address will not be published. Required fields are marked *


Excellent recipe!