Table of Contents
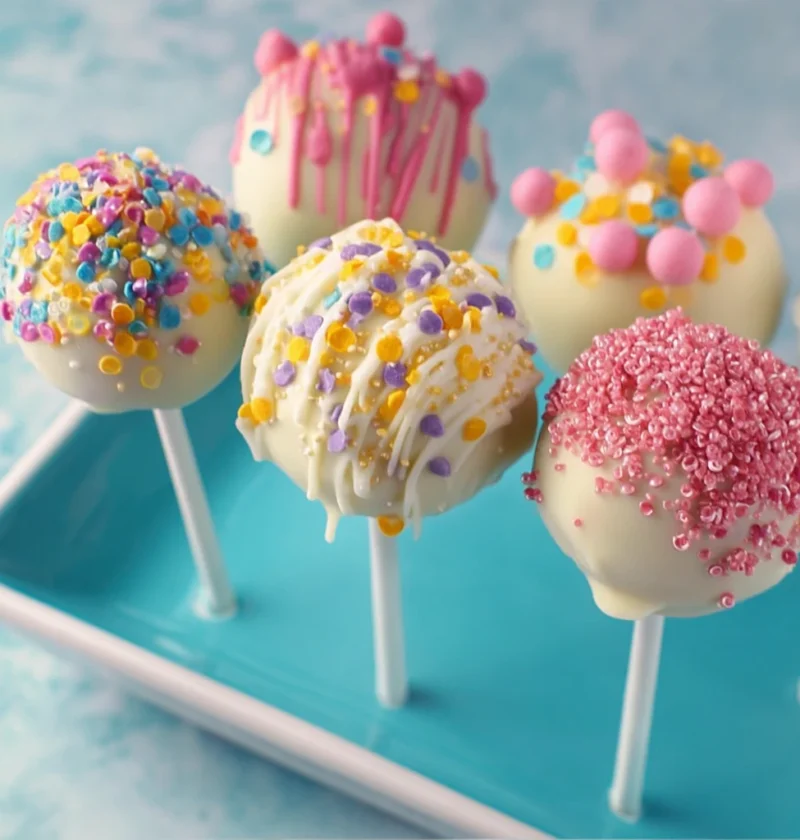
spring cake pops
Imagine a burst of spring in every bite – that’s the magic of Spring Cake Pops! These delightful treats are not only visually appealing but also a perfect blend of flavors and textures. Whether you’re hosting a garden party, celebrating Easter, or simply craving a sweet pick-me-up, these Spring Cake Pops are sure to elevate any occasion.
Bringing together the essence of the season, these cake pops encapsulate the freshness and vibrancy of spring. With each bite, you’ll experience a symphony of flavors that will transport you to a blooming garden filled with fragrant flowers and warm sunshine.
As we delve into the world of Spring Cake Pops, we’ll explore the art of crafting these miniature delights and uncover tips and tricks to perfecting them. Get ready to embark on a culinary journey that combines creativity, sweetness, and a touch of whimsy!
So, grab your apron, gather your ingredients, and let’s dive into the wonderful realm of Spring Cake Pops!
Why You’ll Love This Recipe
These Spring Cake Pops are not just your average dessert – they are a celebration on a stick! The best part about this recipe is its versatility and charm. Whether you’re a seasoned baker or a beginner in the kitchen, you’ll find joy in creating these delightful treats.
One of the standout features of these cake pops is their bite-sized nature, making them perfect for sharing at parties or indulging in a guilt-free treat. Additionally, their colorful appearance adds a festive touch to any gathering, making them a hit with both kids and adults alike.
Moreover, these Spring Cake Pops can be customized to suit various dietary preferences, allowing everyone to enjoy a taste of spring regardless of their restrictions. From gluten-free options to vegan variations, there’s a cake pop for everyone!
Get ready to fall in love with the simplicity, charm, and deliciousness of these Spring Cake Pops – they are bound to become a staple in your dessert repertoire!
Ingredients
To create these delightful Spring Cake Pops, you will need the following ingredients:
– Cake mix (any flavor of your choice)
– Frosting (vanilla or cream cheese work well)
– Candy melts (assorted colors for coating)
– Sprinkles or decorations
– Lollipop sticks
Feel free to explore different flavor combinations and colors to customize your cake pops to suit the occasion or your personal preferences.
Step-by-Step Instructions
1. Bake your favorite cake according to the package instructions and let it cool completely.
2. Crumble the cake into fine crumbs using your hands or a food processor.
3. Add frosting to the cake crumbs a little at a time until you achieve a dough-like consistency that holds together.
4. Roll the cake mixture into small balls and place them on a baking sheet lined with parchment paper.
5. Insert a lollipop stick into each cake ball and freeze them for about 15-20 minutes to firm up.
6. Melt the candy melts in separate bowls according to the package instructions.
7. Dip each cake pop into the melted candy melts, ensuring it is fully coated.
8. Decorate the cake pops with sprinkles, edible glitter, or any decorations of your choice before the candy coating sets.
9. Allow the cake pops to dry by standing them upright in a cake pop stand or a block of foam.
10. Once the coating is set, your Spring Cake Pops are ready to be enjoyed!
Expert Tips for Success
• Ensure your cake balls are firm before dipping them in the candy melts to prevent them from falling off the sticks.
• Use gel food coloring to achieve vibrant and intense colors for your cake pop coatings.
• Experiment with different drizzling techniques and patterns to create unique designs on your cake pops.
• Store your finished cake pops in the refrigerator to keep them fresh and maintain their shape until serving.
By following these expert tips, you’ll be on your way to creating picture-perfect Spring Cake Pops that will impress your guests and leave them craving for more!
Variations and Substitutions
Looking to add a twist to your Spring Cake Pops? Here are some creative variations and substitutions to consider:
– Instead of traditional cake flavors, try using lemon or strawberry cake for a fruity burst.
– Use white chocolate or colored candy melts for a different coating effect.
– Incorporate crushed nuts or dried fruit into the cake mixture for added texture and flavor.
– For a healthier option, substitute the frosting with Greek yogurt or a fruit puree.
Don’t be afraid to get creative and explore different combinations to make your Spring Cake Pops truly unique!
Serving Suggestions
When it comes to serving these delightful treats, the presentation is key. Arrange your Spring Cake Pops on a decorative platter or cake stand for a visually appealing display. You can also insert them into a foam block covered with decorative paper for a fun and festive look.
Pair your cake pops with a refreshing glass of lemonade or a cup of hot tea to complement the sweetness of the treats. These Spring Cake Pops also make excellent party favors or gifts – simply wrap them in clear cellophane bags tied with colorful ribbons for a charming touch.
Whether you’re hosting a spring brunch, a birthday celebration, or a baby shower, these Spring Cake Pops are guaranteed to be a crowd-pleaser!

FAQs
Q: Can I make the cake balls in advance?
A: Yes, you can prepare the cake balls ahead of time and store them in the refrigerator until you are ready to coat and decorate them.
Q: Can I use homemade frosting instead of store-bought?
A: Absolutely! Homemade frosting adds a personal touch and allows you to control the sweetness and flavor of your cake pops.
Q: How long do these cake pops stay fresh?
A: When stored in an airtight container in the refrigerator, these cake pops can stay fresh for up to a week.
Q: Can I freeze the decorated cake pops?
A: It is best to freeze the undecorated cake balls and then coat them with candy melts before serving for the best results.
Final Thoughts
As you embark on the journey of making these Spring Cake Pops, remember to have fun, get creative, and enjoy the process. Whether you’re a baking enthusiast or a novice in the kitchen, this recipe offers a wonderful opportunity to unleash your culinary creativity and share the joy of homemade treats with your loved ones.
So, gather your ingredients, follow the simple steps, and watch as ordinary cake balls transform into delightful Spring Cake Pops that are as beautiful as they are delicious. Let these treats be a reflection of the season – vibrant, colorful, and full of sweetness!
Call to Action
Are you ready to bring a taste of spring into your kitchen? Try making these Spring Cake Pops today and share your baking adventures with us. Don’t forget to tag us on social media and spread the joy of homemade treats!

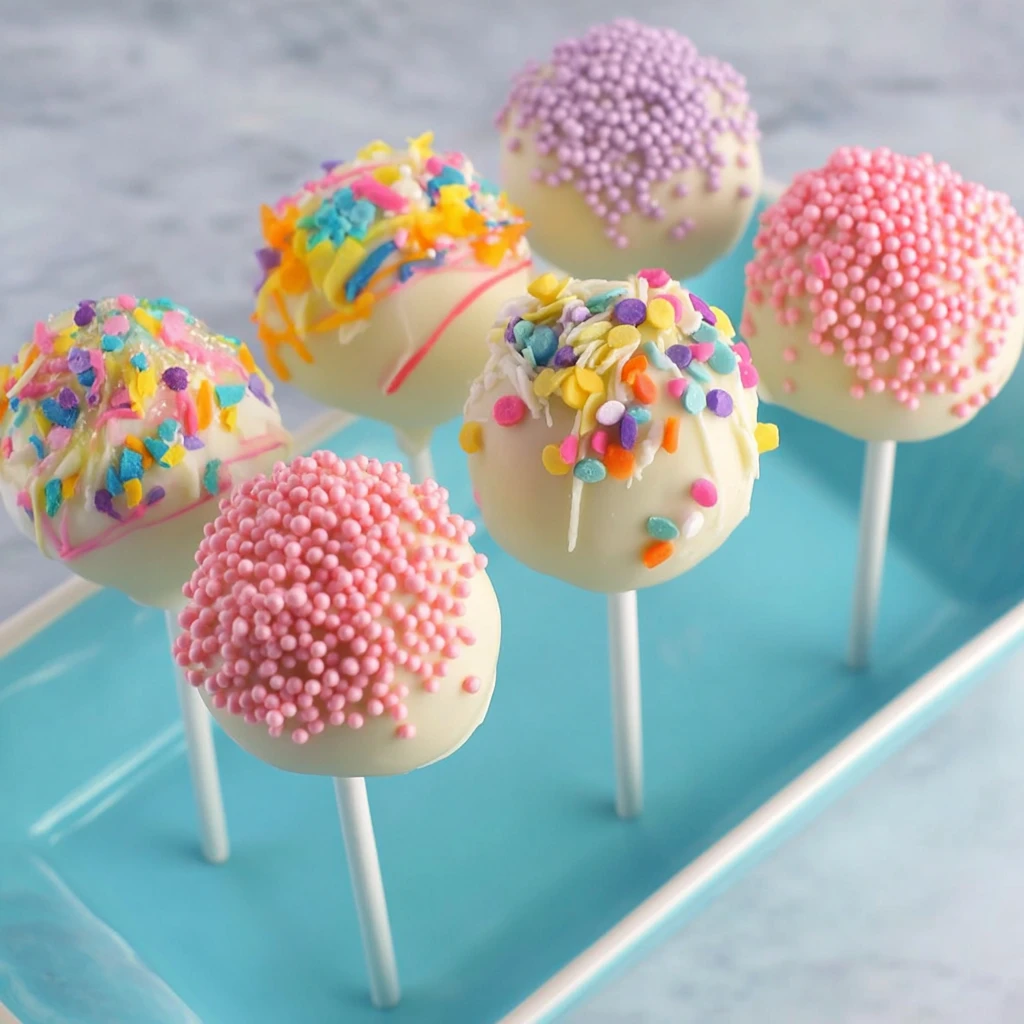
spring cake pops
Delight in the burst of spring with these colorful and flavorful Spring Cake Pops. Perfect for any celebration, these bite-sized treats are a joy to make and share with loved ones. Customize them to suit your preferences and indulge in a taste of the season!
Ingredients
- Cake mix (any flavor)
- Frosting (vanilla or cream cheese)
- Candy melts (assorted colors)
- Sprinkles or decorations
- Lollipop sticks
Directions
-
Bake the cake according to package instructions and let it cool completely.
-
Crumble the cake into fine crumbs using your hands or a food processor.
-
Mix frosting into the cake crumbs until a dough-like consistency is achieved.
-
Roll the mixture into small balls and place them on a baking sheet.
-
Insert a lollipop stick into each ball and freeze for 15-20 minutes.
-
Melt candy melts in separate bowls following package instructions.
-
Dip each cake pop into melted candy melts until fully coated.
-
Decorate with sprinkles or edible decorations before the coating sets.
-
Allow cake pops to dry by standing them upright.
-
Serve and enjoy your vibrant Spring Cake Pops!