
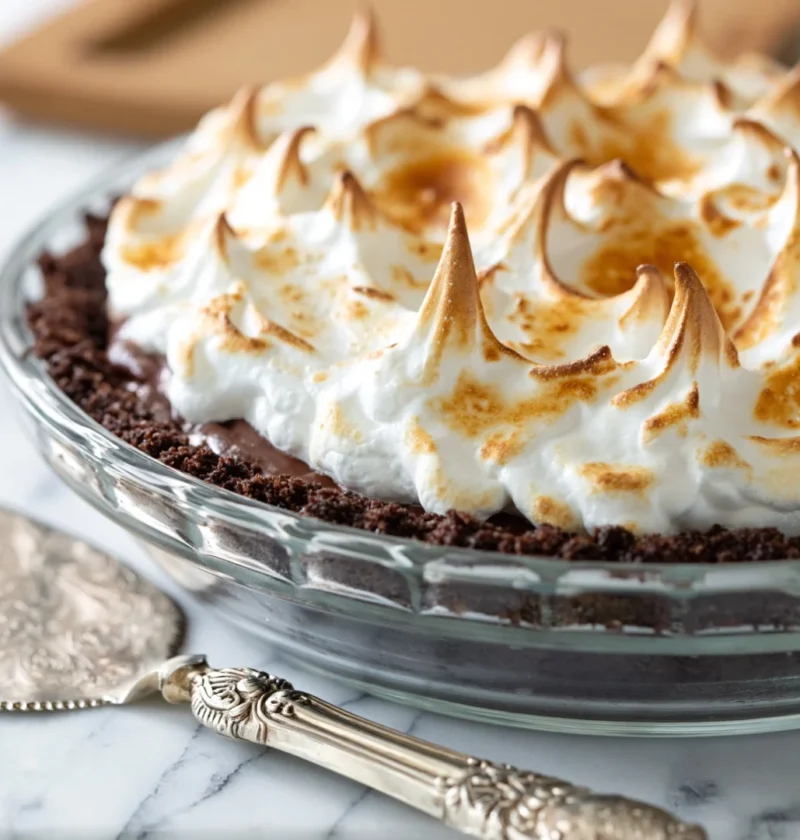
Nothing says summer like a classic Gluten Free Lemon Meringue Pie. This beloved dessert combines a zesty lemon filling with a light and fluffy meringue, all encased in a flaky gluten-free pie crust. Not only is it a delight for the taste buds, but it also stands out at any gathering, making it the perfect dessert for special occasions. The bright, tangy lemon flavor is invigorating, and the sweet meringue topping adds an elegant touch. This recipe is a great way to impress guests while ensuring that everyone can enjoy a slice, regardless of dietary restrictions. The combination of textures and flavors in this pie not only showcases culinary skill but also evokes nostalgic memories for many, as lemon meringue pie has been a staple dessert for generations.
Ingredients
For the Gluten Free Pie Crust:
- 1 ¾ cups gluten-free all-purpose flour
- ½ teaspoon salt
- 1 tablespoon sugar
- ½ cup unsalted butter, chilled and diced
- 1/4 cup ice water
For the Zesty Lemon Filling:
- 1 cup granulated sugar
- 2 tablespoons cornstarch
- 1 cup water
- 3 large egg yolks, beaten
- 1/3 cup fresh lemon juice
- 1 teaspoon lemon zest
- 2 tablespoons unsalted butter
For the Egg White Meringue:
- 3 large egg whites
- 1/4 teaspoon cream of tartar
- 1/2 cup granulated sugar
Steps / Instructions
- Prepare the Gluten Free Pie Crust: In a mixing bowl, combine the gluten-free flour, salt, and sugar. Cut in the chilled butter until the mixture resembles coarse crumbs, which may take about 5-7 minutes of blending with a pastry cutter or your fingers. Gradually add ice water, mixing until the dough starts to come together, but don’t overwork it. Form into a ball, wrap in plastic, and refrigerate for at least 30 minutes to allow the gluten-free flour to hydrate and the dough to firm up.
- Pre-bake the Crust: Preheat your oven to 425°F (220°C). Roll out the chilled dough on a floured surface to about 1/8 inch thick and fit it into a 9-inch pie pan. Trim excess dough and prick the bottom with a fork in several places to prevent bubbling. Bake for 10-12 minutes until lightly golden, watching closely to avoid burning. Remove from the oven and set aside to cool completely; this will help maintain the crust’s integrity when the filling is added.
- Make the Zesty Lemon Filling: In a saucepan, whisk together the sugar and cornstarch until well combined. Gradually stir in the water and cook over medium heat, continuously stirring, until the mixture thickens and bubbles, which should take about 5-7 minutes. Reduce heat, and gradually whisk in the beaten egg yolks, lemon juice, and lemon zest. Cook for an additional 2 minutes, stirring constantly to avoid curdling the egg yolks and ensuring a smooth filling.
- Add Butter: Remove the pan from heat and incorporate the butter into the lemon filling until melted and smooth, which adds richness and depth of flavor to the filling. Pour this vibrant filling into the pre-baked pie crust, smoothing the top with a spatula to create an even layer that looks visually appealing.
- Prepare the Meringue: In a clean mixing bowl, beat the egg whites with cream of tartar until soft peaks form, which usually takes about 2-3 minutes at medium-high speed. Gradually add sugar, continuing to beat until stiff peaks form and the meringue is glossy, which may take another 3-5 minutes. This step is crucial as it ensures the meringue holds its shape and texture when baked.
- Top the Pie: Spread the meringue over the lemon filling, ensuring it touches the crust to prevent shrinkage during baking. Use a spatula to create peaks and swirls on the surface, which will not only look beautiful but will also provide a lovely contrast when baked to a golden brown.
- Bake the Meringue: Reduce the oven temperature to 350°F (175°C) and bake the pie for about 10-15 minutes, or until the meringue is golden brown. Keep an eye on it to avoid over-baking, as the goal is to achieve a perfectly toasted meringue that complements the tartness of the lemon filling.
- Cool and Serve: Allow the pie to cool at room temperature before slicing, which will help the filling set properly. For best results, refrigerate for at least two hours before serving to let the filling set completely and enhance the overall flavor experience.
Tips & Tricks
- Perfecting the Crust: Ensure your butter is very cold to achieve a flaky texture. If necessary, freeze the butter for 10-15 minutes before using, and consider using a food processor for quicker results. A little extra time spent on the crust can elevate the entire pie.
- Making Ahead: The pie crust can be made ahead of time and stored in the refrigerator for up to 3 days or frozen for up to 3 months. You can also prepare the lemon filling a day in advance; just store it separately and assemble before serving.
- Avoiding Weeping Meringue: Ensure your mixing bowl for the egg whites is completely clean and dry to promote stable meringue. Avoid overcooking the meringue, as this can lead to weeping, which detracts from its texture. Another tip is to spread the meringue while the filling is still hot to create a better seal.
- Storage: Store leftovers in the refrigerator, covered gently with plastic wrap to prevent the meringue from becoming soggy. Consume within three days for the best texture and flavor, as the meringue may start to lose its fluffiness over time.
Conclusion
With its tangy lemon flavor and light, fluffy meringue, Gluten Free Lemon Meringue Pie is a delightful dessert that everyone can enjoy. Whether for a summer gathering or a family dinner, this pie is sure to impress. Give this recipe a try and savor the refreshing taste of homemade lemon curd and meringue! You can learn more about this topic.
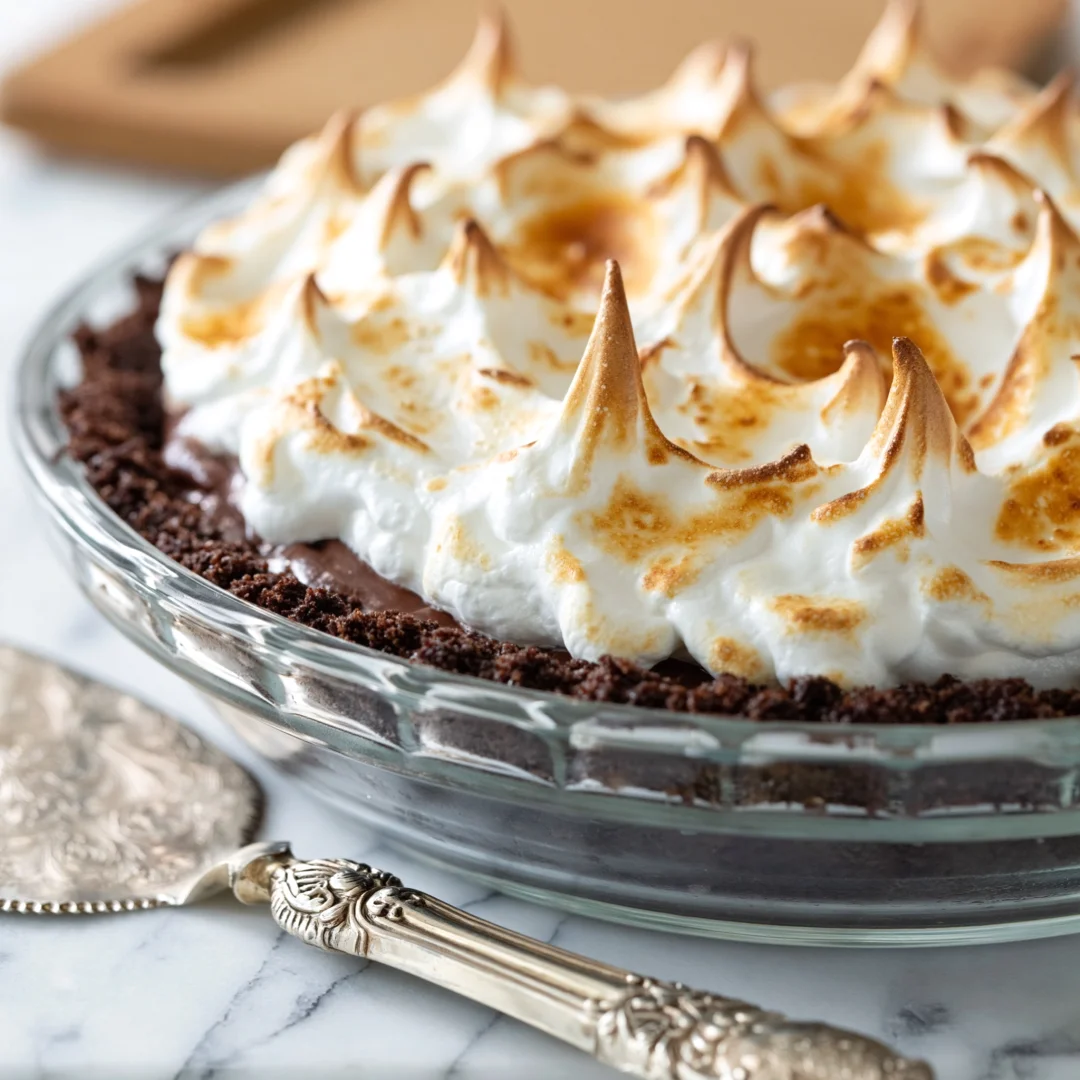
Gluten Free Lemon Meringue Pie
This beloved dessert combines a zesty lemon filling with a light and fluffy meringue, all encased in a flaky gluten-free pie crust.
Ingredients
- 1 ¾ cups gluten-free all-purpose flour
- ½ teaspoon salt
- 1 tablespoon sugar
- ½ cup unsalted butter, chilled and diced
- 1/4 cup ice water
- 1 cup granulated sugar
- 2 tablespoons cornstarch
- 1 cup water
- 3 large egg yolks, beaten
- 1/3 cup fresh lemon juice
- 1 teaspoon lemon zest
- 2 tablespoons unsalted butter
- 3 large egg whites
- 1/4 teaspoon cream of tartar
- 1/2 cup granulated sugar
Directions
In a mixing bowl, combine the gluten-free flour, salt, and sugar. Cut in the chilled butter until the mixture resembles coarse crumbs, which may take about 5-7 minutes of blending with a pastry cutter or your fingers. Gradually add ice water, mixing until the dough starts to come together, but don't overwork it. Form into a ball, wrap in plastic, and refrigerate for at least 30 minutes.
Preheat your oven to 425°F (220°C). Roll out the chilled dough on a floured surface to about 1/8 inch thick and fit it into a 9-inch pie pan. Trim excess dough and prick the bottom with a fork in several places to prevent bubbling. Bake for 10-12 minutes until lightly golden. Remove from the oven and set aside to cool completely.
In a saucepan, whisk together the sugar and cornstarch until well combined. Gradually stir in the water and cook over medium heat, continuously stirring, until the mixture thickens and bubbles, about 5-7 minutes. Reduce heat, and gradually whisk in the beaten egg yolks, lemon juice, and lemon zest. Cook for an additional 2 minutes, stirring constantly.
Remove the pan from heat and incorporate the butter into the lemon filling until melted and smooth. Pour this vibrant filling into the pre-baked pie crust, smoothing the top with a spatula.
In a clean mixing bowl, beat the egg whites with cream of tartar until soft peaks form, about 2-3 minutes at medium-high speed. Gradually add sugar, continuing to beat until stiff peaks form and the meringue is glossy, about another 3-5 minutes.
Spread the meringue over the lemon filling, ensuring it touches the crust to prevent shrinkage during baking. Use a spatula to create peaks and swirls on the surface.
Reduce the oven temperature to 350°F (175°C) and bake the pie for about 10-15 minutes, or until the meringue is golden brown.
Allow the pie to cool at room temperature before slicing. For best results, refrigerate for at least two hours before serving.
Recipe Reviews
- ★★★★★
Excellent recipe!
Leave a Reply
Your email address will not be published. Required fields are marked *









Excellent recipe!